By rhenmark |

In this guide, we’ll walk through creating a simple login page using Vite as the build tool and Tailwind CSS for styling. Vite provides a fast and modern build tool, while Tailwind CSS offers utility-first styling. Let's get started!
Set Up Your Project
First, make sure you have Node.js installed. If not, download and install it from
nodejs.org
.
Create a Vite Project
Initialize a Vite project:
Open your terminal and run:
npm create vite@latest my-login-page --template react
Replace
my-login-page
with your desired project name.
Navigate to your project directory:
cd my-login-page
Install dependencies:
npm install
Add Tailwind CSS
Install Tailwind CSS and its dependencies:
npm install -D tailwindcss postcss autoprefixer
Generate the Tailwind CSS configuration files:
npx tailwindcss init -p
This command creates
tailwind.config.js
and
postcss.config.js
.
Configure Tailwind to remove unused styles in production:
Update
tailwind.config.js
to include the paths to your template files:
/** @type {import('tailwindcss').Config} */
module.exports = {
  content: [
    "./index.html",
    "./src/**/*.{js,ts,jsx,tsx}",
  ],
  theme: {
    extend: {},
  },
  plugins: [],
};
Add Tailwind directives to your CSS file:
Open
src/index.css
and replace its contents with:
@tailwind base; @tailwind components; @tailwind utilities;
Create a Login Component
Create a new file for the login component:
Create
src/Login.js
.
2 .
Add the following code to
Login.js
:
import React, { useState } from 'react';

const Login = () => {
  const [email, setEmail] = useState('');
  const [password, setPassword] = useState('');

  const handleSubmit = (e) => {
    e.preventDefault();
    console.log('Email:', email);
    console.log('Password:', password);
    // Add authentication logic here
  };

  return (
    <div className="flex items-center justify-center min-h-screen bg-gray-100">
      <div className="bg-white p-8 rounded-lg shadow-lg max-w-md w-full">
        <h2 className="text-2xl font-bold mb-6 text-center">Login</h2>
        <form onSubmit={handleSubmit}>
          <div className="mb-4">
            <label htmlFor="email" className="block text-sm font-medium text-gray-700 mb-1">
              Email
            </label>
            <input
              type="email"
              id="email"
              value={email}
              onChange={(e) => setEmail(e.target.value)}
              required
              className="w-full px-3 py-2 border border-gray-300 rounded-md shadow-sm focus:outline-none focus:ring-2 focus:ring-blue-500"
            />
          </div>
          <div className="mb-6">
            <label htmlFor="password" className="block text-sm font-medium text-gray-700 mb-1">
              Password
            </label>
            <input
              type="password"
              id="password"
              value={password}
              onChange={(e) => setPassword(e.target.value)}
              required
              className="w-full px-3 py-2 border border-gray-300 rounded-md shadow-sm focus:outline-none focus:ring-2 focus:ring-blue-500"
            />
          </div>
          <button
            type="submit"
            className="w-full bg-blue-500 text-white py-2 px-4 rounded-md shadow-sm hover:bg-blue-600 focus:outline-none focus:ring-2 focus:ring-blue-500"
          >
            Login
          </button>
        </form>
      </div>
    </div>
  );
};

export default Login;
Explanation:
State Management
:
useState
manages the email and password fields.
Form Handling
:
handleSubmit
logs the email and password (replace with actual authentication logic).
Styling
: Tailwind CSS classes style the form and its elements.
Use the Login Component in Your App
Update
src/App.js
to include the
Login
component:
import React from 'react'; import Login from './Login'; import './index.css';
function App() { return ( <div className="App"> <Login /> </div> ); }
export default App;
Start the development server:
npm run dev
Open your browser and navigate to
http://localhost:3000
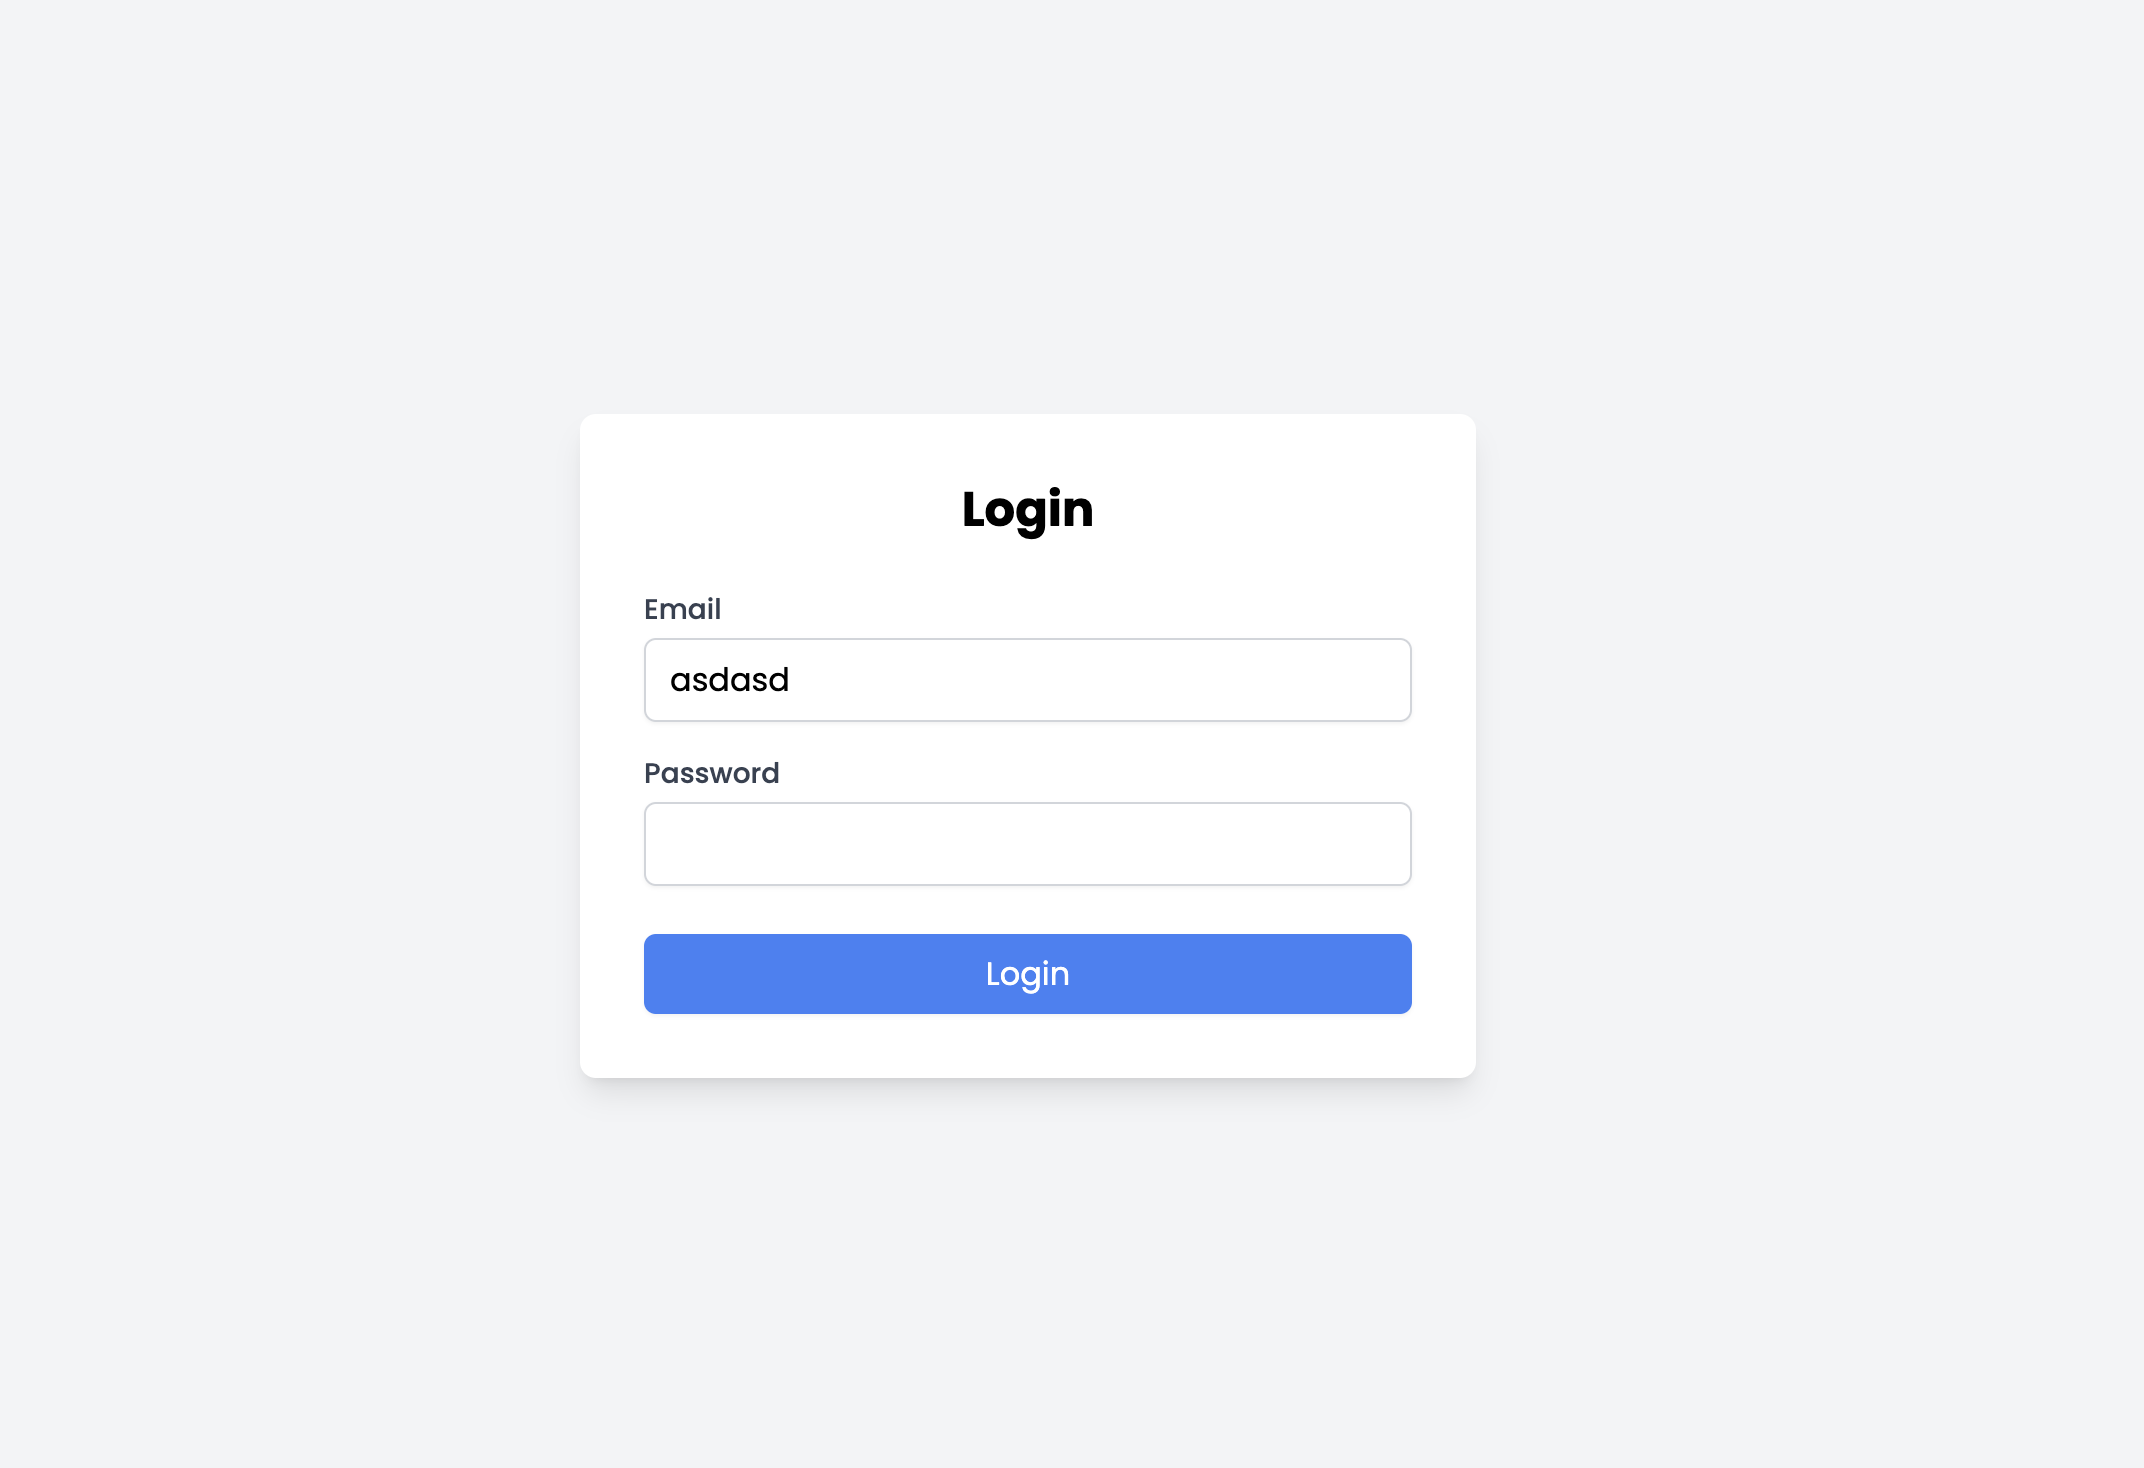
to see your login page in action.
Conclusion
You now have a simple login page built with
Vite
and
Tailwind CSS
. This setup provides a fast development experience and leverages Tailwind's utility-first approach to style components. You can expand this example by adding validation, integrating authentication, or enhancing the UI as needed.